Trusted by Market Leaders in Education, Travel, Finance and E-commerce since 2007


We put excellence, value and quality above all - and it shows


A Technology Partnership That Goes Beyond Code

“Arbisoft has been my most trusted technology partner for now over 15 years. Arbisoft has very unique methods of recruiting and training, and the results demonstrate that. They have great teams, great positive attitudes and great communication.”


Writing Your First Cypress Test: Step-by-Step Guide

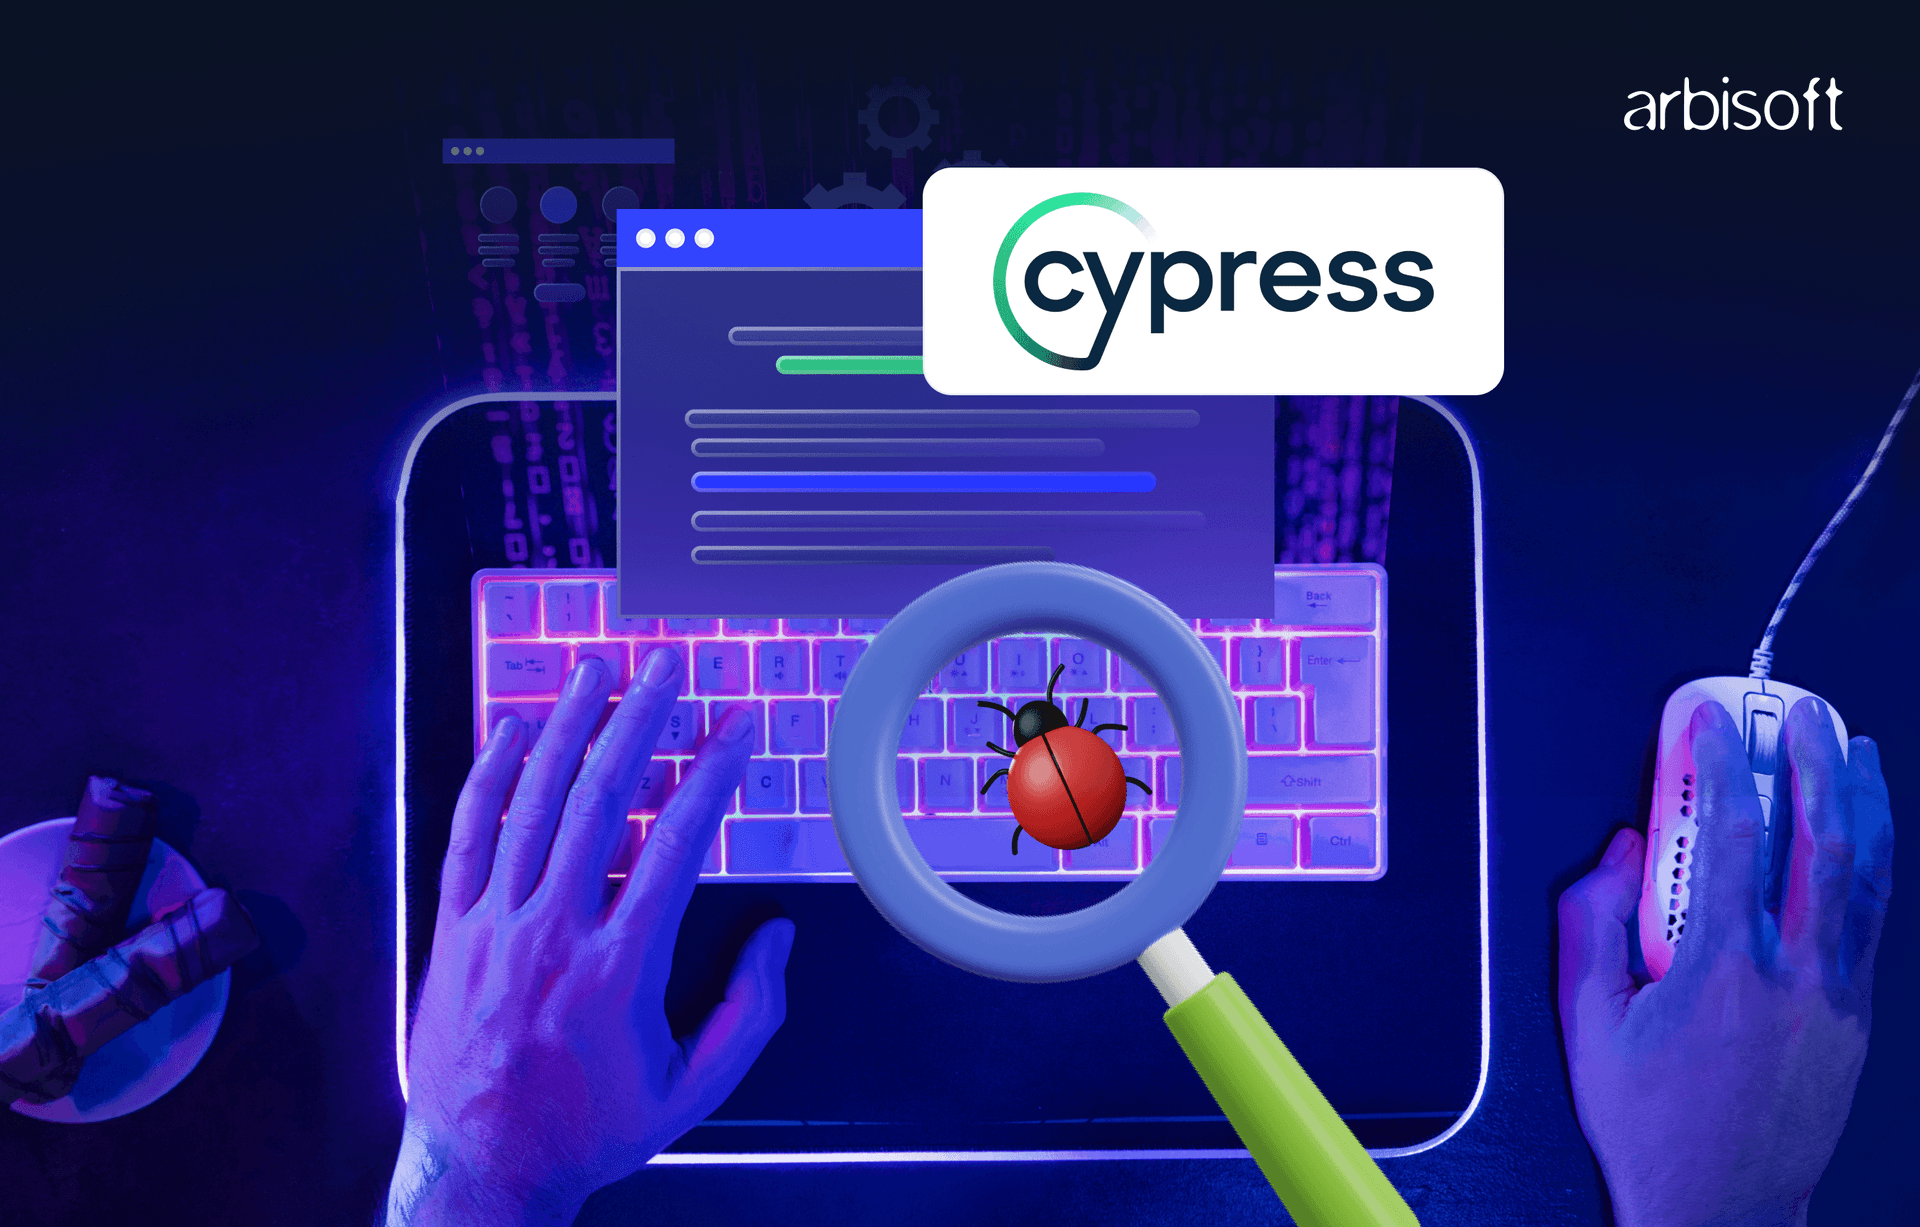
What is Cypress?
Cypress is a test automation tool. The key points include:
- It does not use Selenium.
- It can test anything that runs on a web browser.
- It uses JavaScript.
- It is free to use, as it is open-source.
- Supports cross-browser testing.
How to Use Cypress?
There are 4 important sections in Cypress:
- Set up tests.
- Write tests.
- Run tests.
- Debug.
Supported Browsers for Cypress
The following are the browsers that Cypress supports:
- Chrome
- Firefox
- Edge
- Electron
- Brave
Features of Cypress
The following are the features of Cypress:
- Time travel
It is used to take screenshots as the tests run.
After execution of the test, all the screenshots will be in the command.log. - Debuggability
It shows clear, detailed error messages and stack traces. - Automatic waiting
You don't need to add a custom wait; Cypress has automatic waits.
It automatically waits for commands and assertions before moving on. - Consistent results
Cypress has direct interaction with browsers, so it does not use Selenium or WebDrivers.
It is fast, consistent, and reliable. - Screenshots and videos
Cypress captures screenshots or videos for the tests even if you're running from the command line. - Cross-browser testing
Cypress supports cross-browser testing.
It supports both local and remote CI/CD.
Types of tests in Cypress
Cypress allows you to write all types of tests:
- End-to-end tests
- Integration tests
- Unit tests
Cypress prerequisites
The following are the prerequisites for installing Cypress:
1. Supported operating system versions:
- If you're using Windows, it should be Windows 7 or above.
- If you're using a Mac, its operating system should be 10.9 or above (64-bit only).
- If you're using Linux/Ubuntu, it should be 12.04 and above, Fedora 21, or Debian.
2. Installation methods:
There are 2 ways to install Cypress:
- You can download Cypress via Node.js
- Directly from the Cypress website
Note: The recommended way is to install Cypress through Node.js. The Node.js version should be 10, 12, or above.
3. Check Node.js version
To check the Node.js and npm versions:
- Open the terminal or command prompt.
- Run the following commands:
node -v(It displays the Node.js version)npm -v(It displays the npm version)

How to Set Up a Cypress Project
- Install Node.js
- Install Visual Studio Code
- Create a new folder for the Cypress project (e.g., CypressProject)
- Open that folder in Visual Studio Code
- Open the VS Code terminal
- Run the command:
npm init -y - Install Cypress
- Run the command:
npm install cypress
Create a New Folder for the Cypress Project in Visual Studio
- Go to the Desktop or Documents
- Create a folder (e.g., CypressProject)

- Go to VS Code.
- Open the folder or import the folder in VS Code.

- Go to the terminal.
- Select the new terminal.

- Now, run the command npm init -y
This will start a node project and will create a package.json

- Run the command npm install cypress.
- This command will install the latest version of Cypress.

- To check the version of Cypress, run the command
npx cypress -v.

- Run the command
npx cypress verify. - This command will check that Cypress is installed properly and that there are no missing libraries or dependencies. In short, it will verify that everything is working fine in Cypress.

- To start Cypress, run the command
npx cypress open.
A UI will open with the message “Welcome to Cypress.” This shows that Cypress has opened successfully.
There are 2 options for testing:
- E2E Testing
- Component Testing
E2E Testing:
It stands for end-to-end testing. In this type of testing, the application is tested from start to end. The overall flow of the application is verified.
It is tested from the user's point of view.
Component Testing:
It is module testing. This type of testing checks each module or unit of an application in isolation to verify that each unit or module is working as expected.

- Now we will select E2E testing.

- All the configuration files have been added.

- Select "Continue." Now, a page will appear to select the browser. Will select the Chrome browser.
- Select "E2E Testing" under the Chrome button.

- It will open the Chrome browser and display the spec.
- A spec is a JavaScript or TypeScript file in Cypress. It contains all the tests.
- You can create new specs, and you can also select example specs. For example specs, there are already pre-created tests.

Creating a New Spec:
The following are the steps to create a new spec:
- Select "Create New Spec."

- Add a name for the new spec with the extension
.cy.js. - Select the "Create Spec" button.

- The spec is successfully created.

A spec file is created in the Cypress folder. Expand the Cypress folder, and you will see the E2E folder. Then, expand the E2E folder; the spec file will be present there.


The above-mentioned Cypress test function explains the following:
describe('template spec', ...)defines a test suite to group related tests.it('passes', ...)defines a test case with the name "passes."cy.visit('https://example.cypress.io')is a Cypress command that tells the browser to visit the given URL.- Run the spec using the button.

- In the Cypress Test Runner, the spec will run. It shows the passed test case in green color.

- In order to create more specs, go to the E2E folder and select "New File."
- Add a name to the spec with the extension
.cy.js, for example,test1.cy.js.

You can also check the newly created spec in the browser window.

Some Other Important Terms and Folders in Cypress
1. Fixtures
The fixtures folder is used to store files with static test data. You can upload and download any file and then keep it in the fixtures folder.
Fixtures are used to represent data.
2. Support
In the support folder, the code is present that helps you run tests smoothly. It supports additional files.
commands.js
This file is used to create custom commands.
e2e.js
This file runs before every test file. It is used to set up things globally.
node_modules
node_modules contains all the libraries.
cypress.config.js
This file controls how Cypress works.
This folder also includes two important files:
- package-lock.json: It contains a list of all the packages your project needs.
- package.json: It is automatically created when you install packages.
Conclusion
Getting started with Cypress is easy and beginner-friendly. Explore the basics and learn about the terms in Cypress, then you'll be ready to write your own Cypress test cases with confidence.
Just published